

Yesterday I started the Building a Pagoda Tutorial, see Part 1 HERE

We left off here, with a half completed structure.
Now lets put the floor and some decorations on.

For this step you will need
a scrap piece of paper
thin sticks (like pop sickle sticks)
paint
pencil
something to cut your wood
glue
all embelishments are from Alpha Stamps

The first thing to do is place your Pagoda on the scrap paper and outline where the columns are. Then draw lines to indicate where to floor will end.

Cut out your crap paper and start fitting on your sticks/planks. Make sure that they do not overlap the columns.

After you have all the planks cut cover the paper with glue and apply your planks

See how the column areas are open, now cut away that paper and paint your floor.
Decide how high off the ground you want your floor, mark the columns and hot glue the floor into place. If you have a small level it is handy here but not necessary if all your measurements were correct yesterday.

Now it's time to start the support for all those fabulous dangles!
Again take a piece of your wood and mark it where the corners are. Cut the angles and fit it into place.
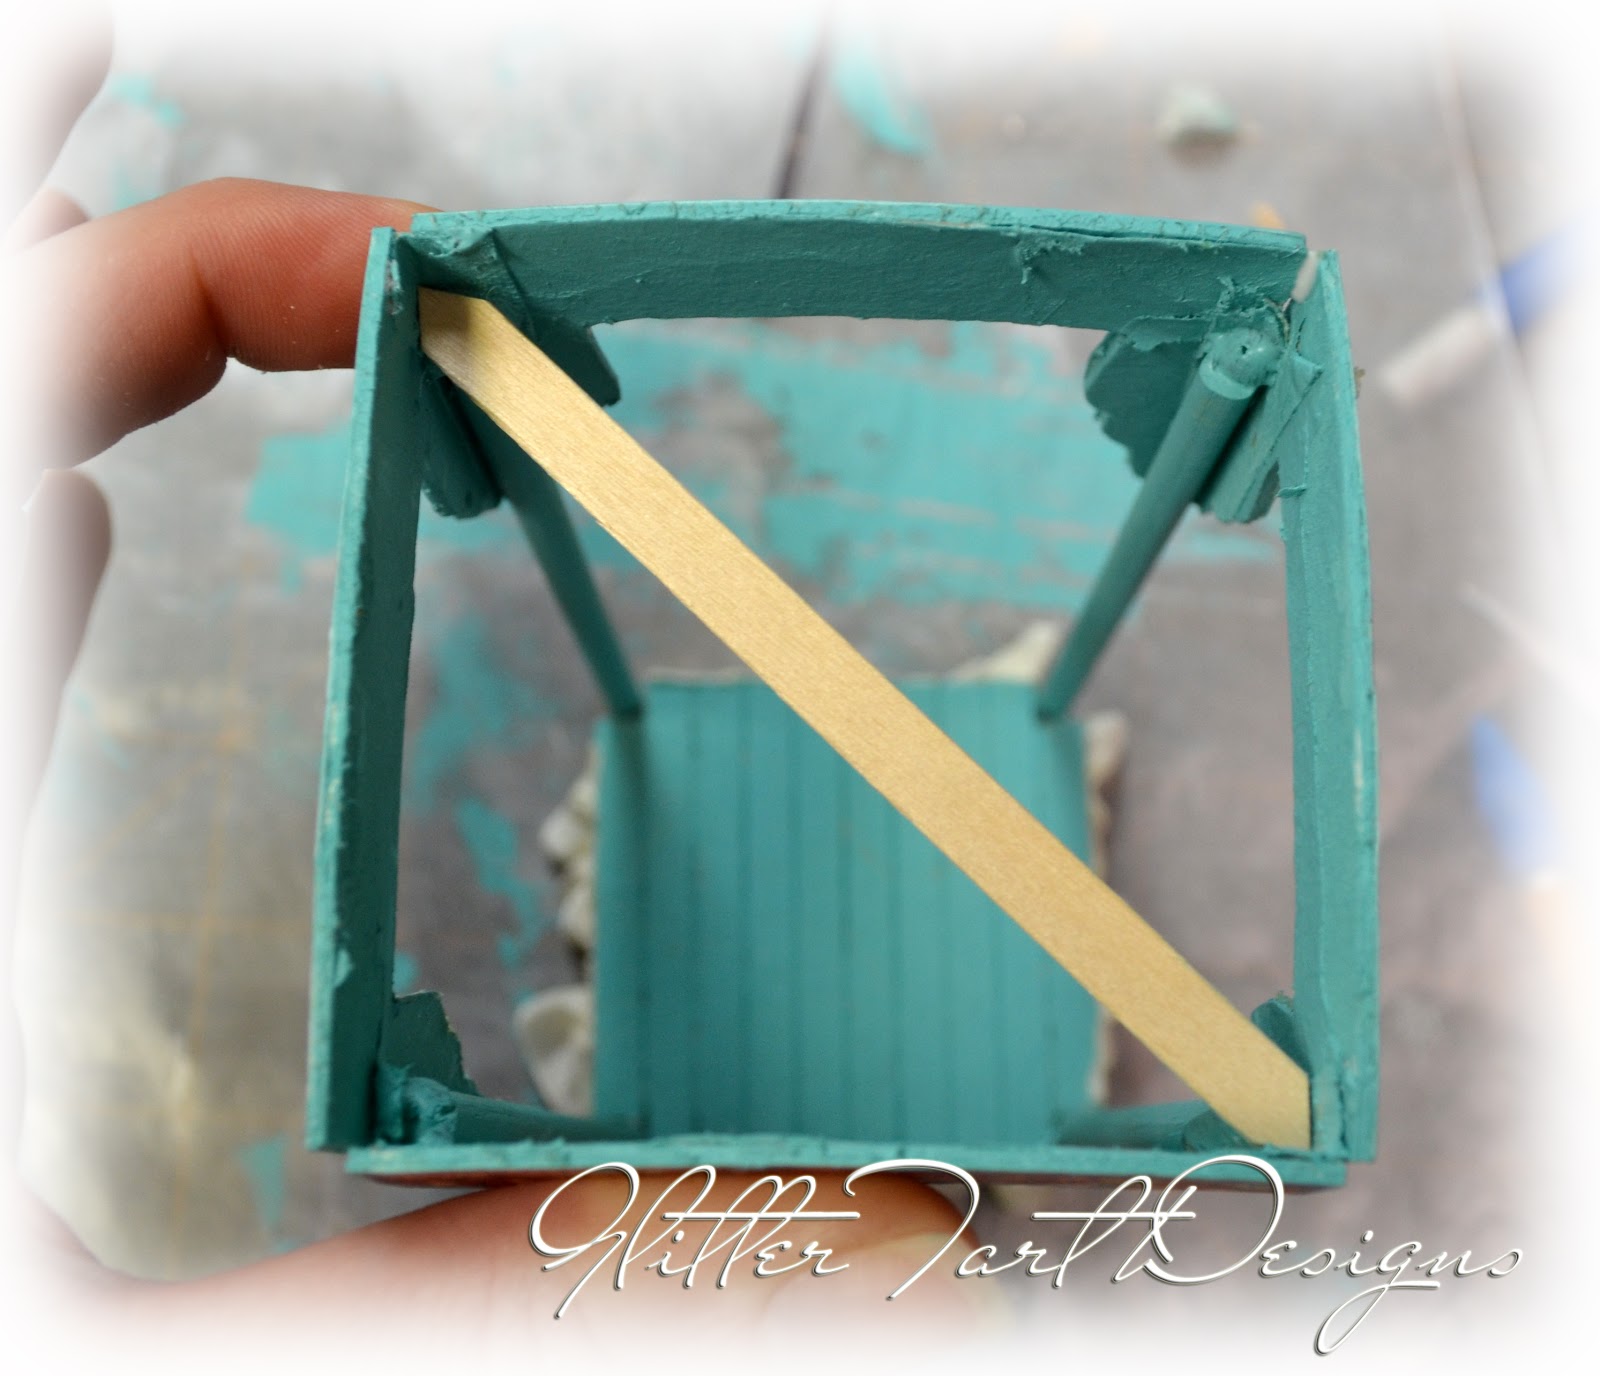
Hot glue it into place.

You can paint it if you like but it's not necessary because the roof will hide it. But if someone looks in and up they will be able to see these bars.

Place a second wood support in place.

Now the fun part! Determine where you want to hang all your goodies. I used some beads, wooden hearts and some clear flower sprigs.

Wire or use fishing line to hang your goodies. I wrapped the wire around the support, tied the fishing wire and then added extra security by placing a dab of hot glue. The roof will hide the messy glue look.

Now there is one more thing to do today. If you are going to add some brass embellishments and want to add a Patina look. Add it now so it has all night to set (it takes about 12 hrs to dry).

Your Pagoda should look something like this. I did a bit of decorating on my floor that I neglected to take photos of but it is sticker swirls that I covered with crackle glaze.
Come back tomorrow and we will finish off the Pagoda by adding the roof!
Hope you are enjoying the Tutorial. As always feel free to ask any questions I'll get back to you as soon as I can.
1 comment:
This is looking very cool!
Post a Comment